No More IP:Port, Custom Domains in My Homelab with Tailscale, Technitium, and NPMplus
At some point every homelabber hits the same wall. You’ve got a dozen services running, everything works, but accessing them means remembering things like https://10.0.0.225:8006 for Proxmox or http://10.0.0.110:3000 for whatever else you spun up last week. And on top of that, every browser screams at you about untrusted certificates. It works, but it feels janky.
I got tired of it. So I fixed it.
Now every service in my homelab has a proper domain name, a valid SSL certificate, and works from any of my devices without a single port number in sight. Here’s how I put it together.
The Stack
Three tools working together:
Tailscale handles the network layer. It creates an encrypted mesh VPN between all my devices using WireGuard under the hood. Instead of opening ports or setting up a traditional VPN, Tailscale just works, any device I add to my tailnet can reach my homelab securely from anywhere.
Technitium DNS handles name resolution. When I type prox.citadel.slytech.us, something has to translate that into an IP address. Technitium is a self-hosted DNS server with a clean web interface that makes setting up wildcard records straightforward.
NPMplus handles the reverse proxy and SSL certificates. It sits in front of all my services and terminates HTTPS, so every service gets a valid Let’s Encrypt certificate through a Cloudflare DNS challenge. No more certificate warnings.
How It All Flows
When I access something like prox.citadel.slytech.us from my Mac:
- My device asks Tailscale’s DNS where
citadel.slytech.uslives - Tailscale’s split DNS kicks in and routes that query to Technitium on my local network
- Technitium has a wildcard record pointing all
*.citadel.slytech.ussubdomains to NPMplus - NPMplus receives the request, presents a valid SSL certificate, and forwards traffic to the actual Proxmox IP and port
- I get Proxmox in my browser with a green lock, no warnings, no port numbers
The naming convention I settled on is service.server.domain.com, so prox.citadel.slytech.us means the Proxmox interface on my Citadel server. When you’re managing multiple servers with similar services it keeps things organized.
Setting Up Tailscale Split DNS
Tailscale is installed on my Proxmox host and configured as a subnet router, so the entire 10.0.0.0/24 network is accessible through it without needing Tailscale on every individual VM.
The split DNS piece tells Tailscale that any query for citadel.slytech.us should go to my Technitium DNS server instead of going out to the public internet.

In the Tailscale admin console under DNS, you add a nameserver with a restriction to your domain. That’s it. Any device on my tailnet now resolves *.citadel.slytech.us through Technitium.
Technitium DNS
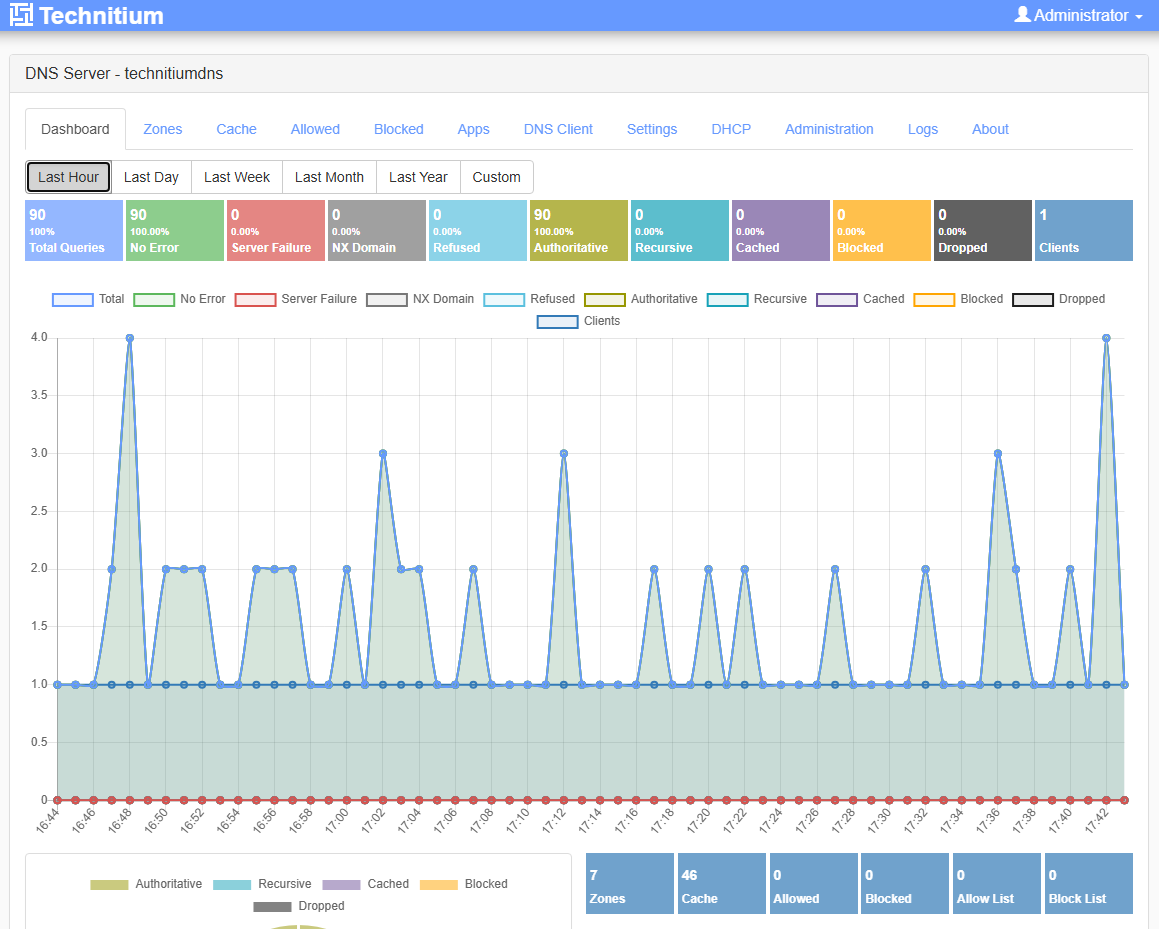
I switched to Technitium from dnsmasq because I wanted a proper web interface. Editing config files works, but when something breaks at midnight you want to see what’s happening at a glance, not grep through text files. Technitium gives you that.
I run it as a Docker container alongside my other services. The compose file is straightforward:
services:
  technitium:
    image: technitium/dns-server:latest
    container_name: technitium
    hostname: technitiumdns
    restart: unless-stopped
    ports:
      - "5380:5380/tcp"   # Web UI
      - "53:53/udp"       # DNS
      - "53:53/tcp"       # DNS over TCP
    volumes:
      - ./data:/etc/dns
    environment:
      - DNS_SERVER_DOMAIN=technitiumdns
Port 53 is the actual DNS port, that’s what Tailscale and your devices will send queries to. Port 5380 is the web UI where you manage everything. Once it’s running you can reach the dashboard at http://your-server-ip:5380.
The zones page shows everything I have configured. For Citadel specifically I have citadel.slytech.us as a primary zone.
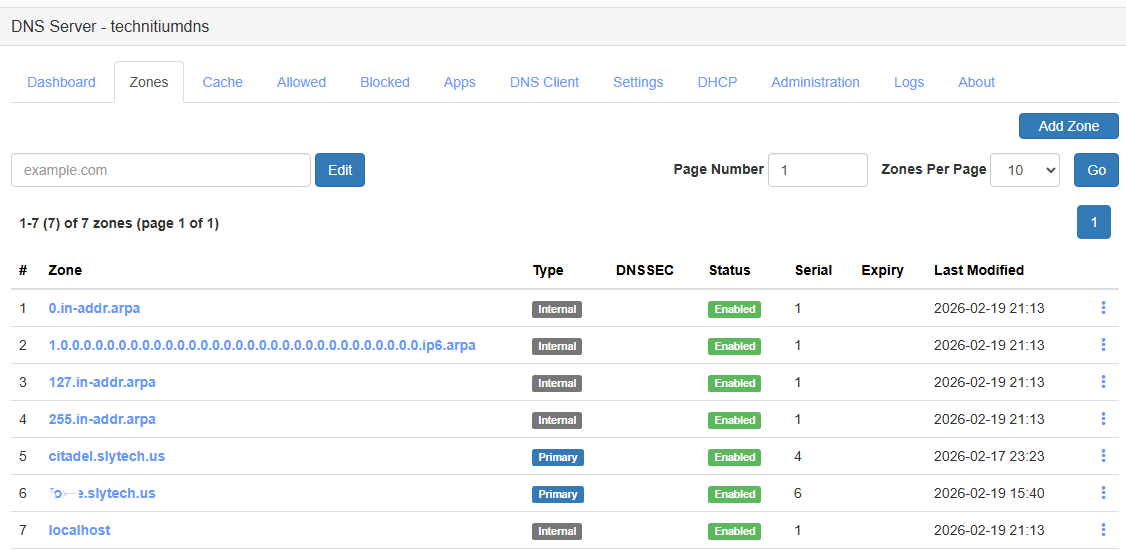
Inside that zone there’s one wildcard A record pointing * to the NPMplus IP. Any subdomain under citadel.slytech.us that doesn’t have a more specific record resolves to NPMplus, which then handles routing it to the right service.

NPMplus and Proxy Hosts
NPMplus is running as a Docker container on Citadel. Once Technitium routes traffic to it, NPMplus decides where it actually goes based on the domain name in the request.
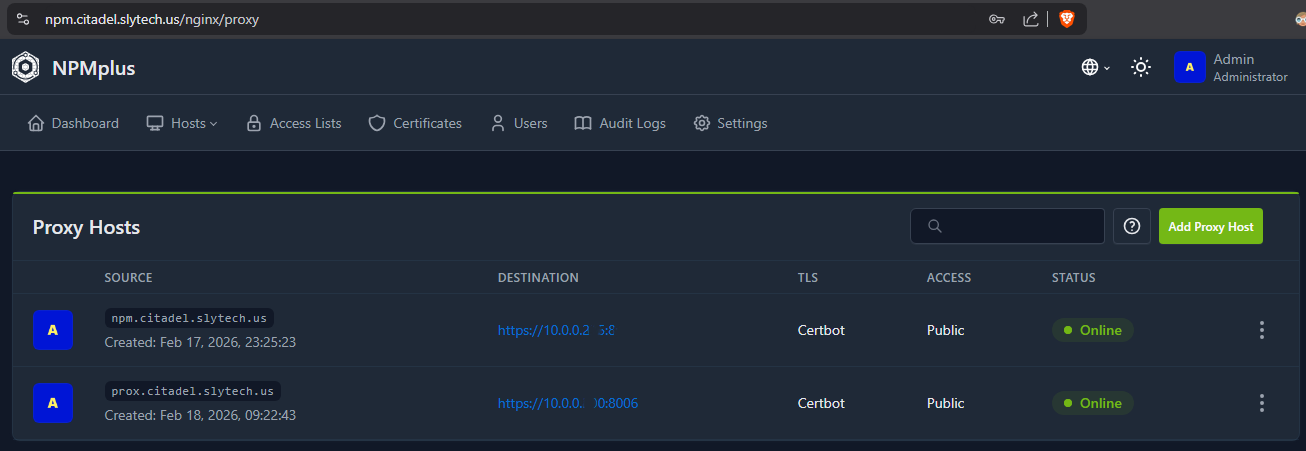
For each service you create a proxy host. You give it the domain name, the backend IP and port, and tell it which SSL certificate to use.
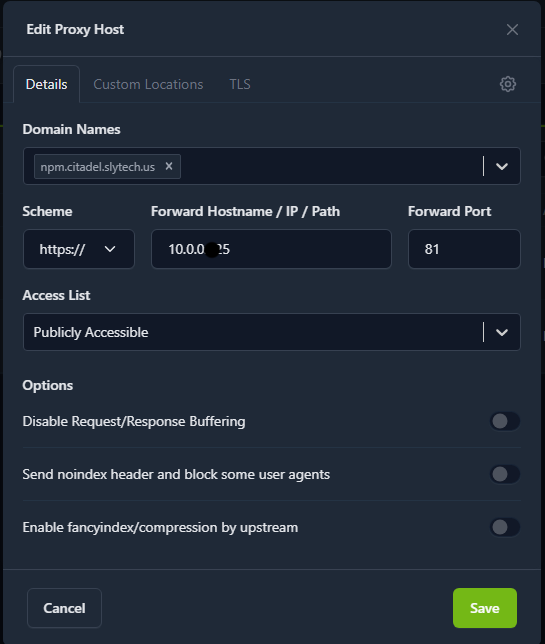
The proxy host for Proxmox for example listens on prox.citadel.slytech.us, forwards to 10.0.0.x:8006 over HTTPS, and uses the wildcard certificate. That’s the entire configuration for one service.
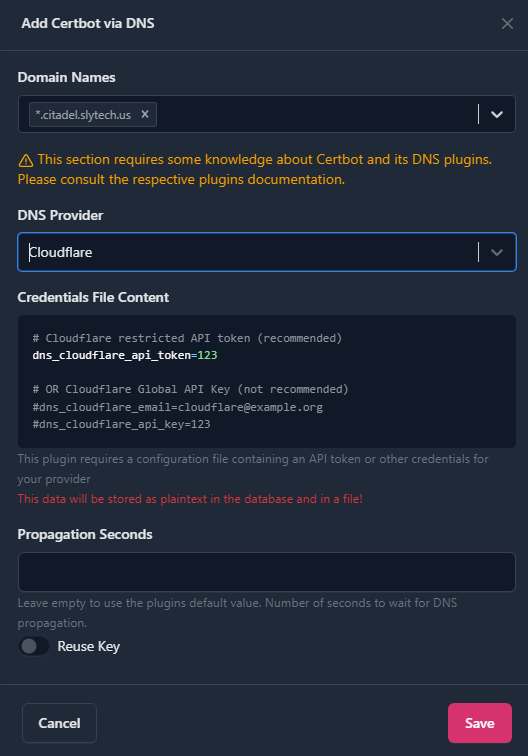
Wildcard SSL with Cloudflare DNS Challenge
This is the part that makes everything feel legitimate. Instead of a self-signed certificate on each service, I have one wildcard certificate for *.citadel.slytech.us issued by Let’s Encrypt. Every service under that domain uses it.
Getting a wildcard certificate requires a DNS challenge, which means you need to be able to create TXT records in your DNS provider. Since my domain is on Cloudflare I created a restricted API token with Zone DNS Edit permission scoped to just slytech.us.

In NPMplus under Certificates you add the API token and request the wildcard certificate. NPMplus handles the Let’s Encrypt challenge automatically and renews it before it expires.

The End Result
After all that, this is what accessing Proxmox looks like now.
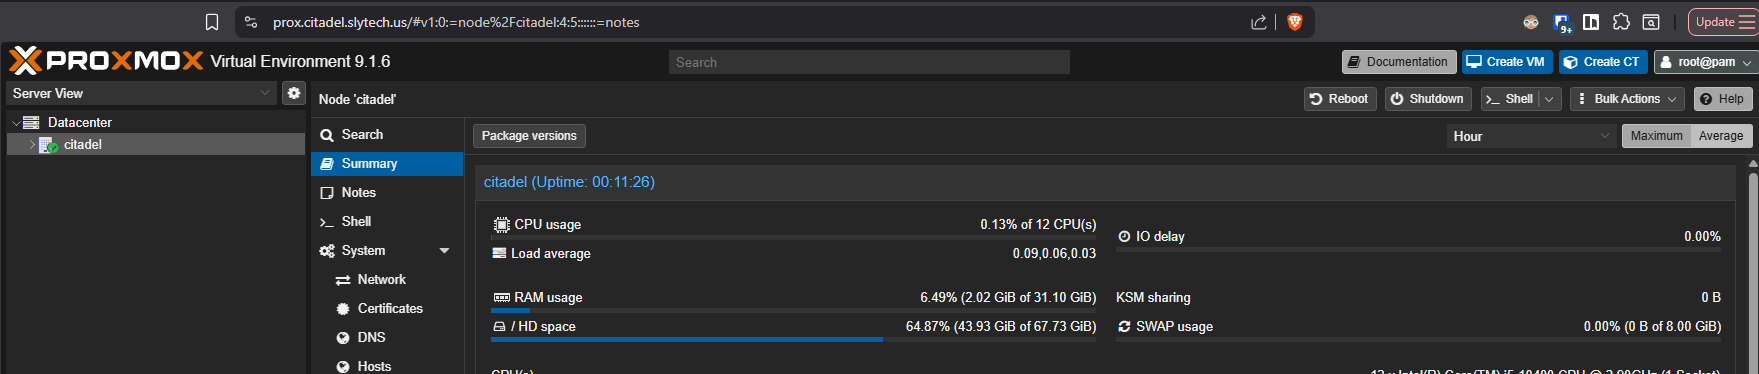
prox.citadel.slytech.us in the address bar, green lock, no warnings, no port number. Works from my Mac, my phone, anywhere I have Tailscale running.
Why This Is Actually Secure
The convenience part is obvious, but I want to talk about the security side because it’s easy to set something like this up and not fully appreciate what it’s doing for you.
The most important thing is what’s not happening. There are no open ports on my router. There’s no public IP pointing at my homelab. If someone scans my home IP from the internet they find nothing. The attack surface from the outside is essentially zero.
Everything flows through Tailscale’s WireGuard mesh, which means every connection is encrypted end to end. WireGuard is modern, minimal, and fast. It’s not a legacy VPN protocol with decades of baggage, it was designed from scratch with security as the priority.
Beyond encryption, Tailscale uses an identity-based model. A device doesn’t just need to know a password or have a key, it has to be an approved node in my tailnet. I control that from the Tailscale admin console. If a device gets lost or compromised I revoke it in seconds and it immediately loses access to everything.
That centralized control also gives me visibility. I can see every device that’s connected, when it last connected, and from where. Combined with Wazuh monitoring everything happening inside the network, I have both a strong perimeter and visibility into what’s going on inside it. The perimeter keeps threats out, the monitoring catches anything that does get in.
The end result is a homelab that’s genuinely secure, not just “secure enough.” No exposed ports, encrypted connections, identity-based access control, and full monitoring. That’s not a bad security posture for a home setup.
The time investment to build all of this was a few hours spread across a couple of sessions. Worth every minute of it.